-
- Jun 29
-
Macalegin Electronics

- 0
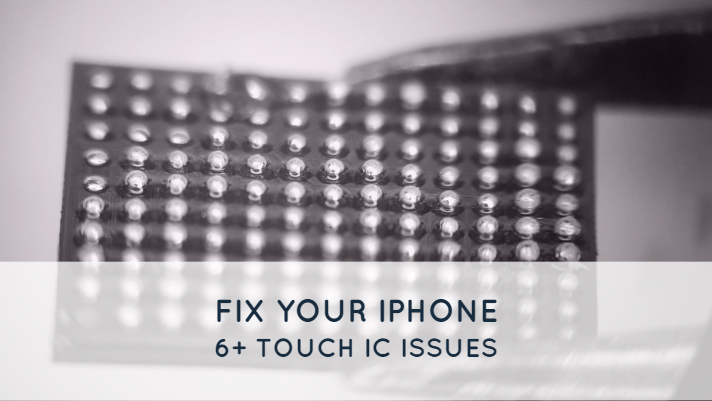
Apple iPhone 6+ Touch Issues & How to Fix Them
 Why screen repairs don’t work sometimes.
Especially in the used phone industry, many users will find that just replacing the screen doesn’t fix the majority of touch issues on the iPhone 6 Plus. Though this issue does exist on most iPhones, we have found it to be most prevalent on this particular model. The notorious issue of the touch not working, or even a gray bar showing at the top of your screen often flickering in and out is not one that can be simply fixed by replacing the screen. This issue is caused by a chip on the board most commonly known as the Touch IC (Integrated Circuit).
So, what causes these issues?
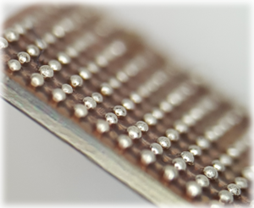
The biggest culprits by far are dropping a phone or having it in your back pocket causing stress to the internal components of your device. Like many chips on your device, the Touch IC does not rest directly on the board as it might appear. It rests on an array of what looks like balls of solder. When the board is placed under stress occasionally one or more of these solder joints disconnect from either the board or the chip. These disconnects are microscopic in size and often still have a small partial connection. A Touch IC with a less than ideal connection often causes touch to respond sporadically, partial and sometimes not at all.
What can I do to fix it?
 Assuming your device is no longer under warranty and you want to attempt to fix it yourself, or that you are a phone re-seller that has this issue, here is a solution.
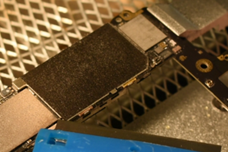
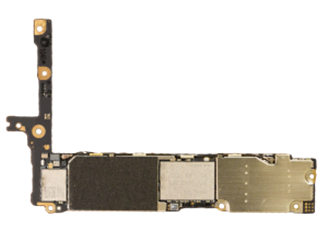
1. Open your iPhone 6S Plus and remove the board. On the underside of the board, there should be a large shield near the top covered by what looks like a black fabric.
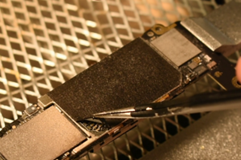
2. Carefully heat the board directly on the black fabric enough to loosen the adhesive under that fabric.
3. Use a razor blade to help remove that fabric off the board.
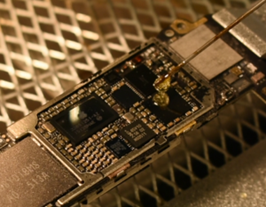
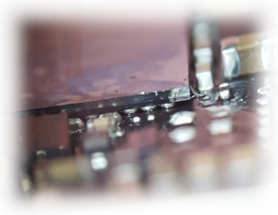
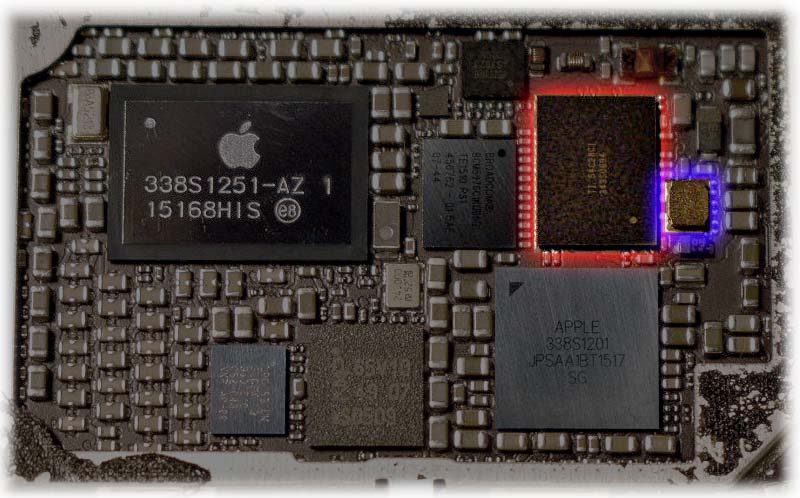
4. Once you have the shield removed, Use a heat-gun at 280°C and preheat the Touch IC Chip (U2402 highlighted in red below) for approximately 15 seconds. Add enough liquid flux to allow the flux to flow under the entire chip.
5. Continue with high air-flow directed at the IC chip for approximately 30 seconds. Test to see if the solder has liquified by touching the small Capacitor Inductor Chip (L2401 highlighted in blue below) and see if it moves freely.
6. Continue testing to see if this chip moves freely every 5-10 seconds until it does.
All Finished?
7. 70% of the time, the touch issue is already fixed just by doing the previous steps. Stop applying heat to the chip and do not bump the board until it has cooled, and the solder has solidified. If you do move the board prematurely, you risk shifting components causing hours of work to fix the mess or potentially rendering that board useless.
 8. Once it has cooled scrub the board flux off with isopropyl alcohol and a nylon brush (toothbrush). Once the board is clean, re-warm the board enough to allow the adhesive to soften and replace the shielding fabric.
9. Test the board with a known good screen and make sure everything still works. Hopefully, all went well, and your device is ready to use.
10. If your device has the same issue it had before reflowing, you will need to add an extra step. Repeat the process to get the solder under the Touch IC chip liquified. With the heat still being applied, VERY carefully nudge the actual Touch IC Chip as lightly as you can. Pressing too hard in any direction those balls of solder combine with each other essentially shorting out the connections on the chip. If this happens, you will need to order a new chip with the balls of solder already attached.
The repair will have nudged the solder to reconnect to both the board and the chip and your issue should be fixed. Continue to test the device as previously described and keep your fingers crossed.
Did something go wrong?
Worst case scenario, you now have a device that still has the same issue or is not working as described because something went wrong during the repair process. There are three possibilities as to why.
- The original Touch IC Chip has gone bad and needs a replacement.
- Stress on the device caused the actual pads to rip off the board and is no longer reparable.
- The chip was damaged due to heat or shifted during the repair process.
It’s possible to order a new chip and replace the old one, we’ll explain this in a future post.
Follow us on Twiter, Facebook, LinkedIn or Instagram for updates and our exclusive wholesale phone deals.
Disclosure: This was written with the intent to help used phone suppliers and wholesalers. We take no responsibility for any damages that may occur to persons or property while following these instructions.